A few weeks ago, as I was scrolling through Face Book, I noticed a post by Renaissance Ribbons that looked interesting. They posted a picture of an adorable purse and asked if anyone would be interested in making this purse with some of their ribbon. The funny thing is that for a couple of weeks, I had been looking at their website drooling over their ribbons. The reason: I wanted to make a ribbon purse! What great timing! I left a comment on that post that I would be very interested and they emailed me a few days later...so much fun! I decided to use the pattern they had posted, it is free and was really easy to do. The blog is called the Stitching Scientist which further peaked my interest on this pattern because for many years I was a chemist, so I guess I am also somewhat of a stitching scientist! The pattern is an Oval Messenger Bag and here is the link:

I looked at their website once more and had a hard time deciding what ribbons I wanted to put together! I finally pinned my choices on Pinterest to see how they looked together. You can go to the Pinterest board for my choices here:

I printed out the pattern and started right in! Because I was not using a whole piece of fabric and I knew I would be piecing the ribbons together, I did what every good crazy quilter would do and decided to foundation piece the ribbons. I made the foundation a neutral color so it wouldn't show through if I didn't get the ribbons close enough together. I also decided to double the fabric because these are really nice durable ribbons!

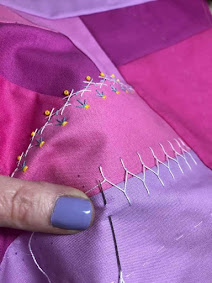
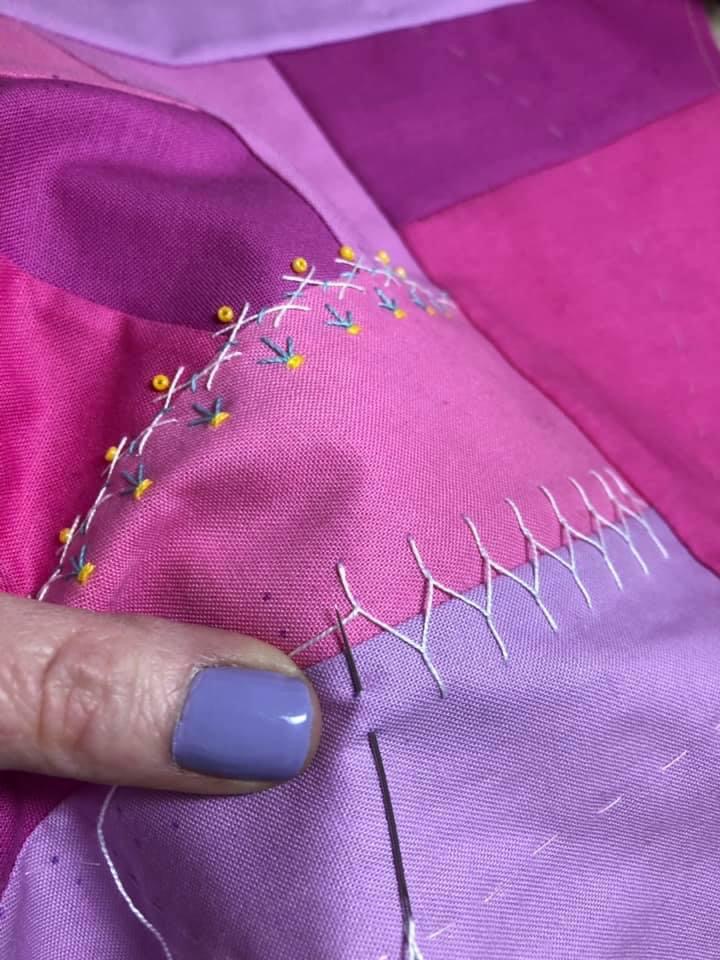
I placed the ribbons side by side and zig zagged them together on top of the foundation. The first piece I did was the front pocket. I used invisible thread on the top so that you couldn't really see the stitches. Several years ago, I wrote a tutorial on sewing with invisible thread. If you have never done it before, you should give it a try! Here is a link to my tutorial if you have never used invisible thread:

Piecing the front pocket went really well and I was pleased with the result. Somehow I didn't get a picture of the piece that goes behind the pocket after it was done. For that piece, I did the same thing. I cut the piece out using a gray neutral and doubled the fabric. I only pieced the section that was going to show up above where the top of the front pocket stopped. I didn't want to waste any ribbon inside the pocket where you wouldn't see it!

After I had finished piecing both parts that make up the front pocket, I put a piece of binding on the top edge of the pocket and basted the two pieces together. Next, I cut out the side pieces that make up the remaining part of the front of the purse. Because the front pocket is fairly heavy from all the layers, I decided to iron some fusible knit to the side pieces to give them more stability. They were sewn them in place on either side of the front pocket.

At this point I was really happy with the way it was turning out!

I still had some ribbon leftover, so I decided to add a pocket to the back of the purse. I really love lots of pockets to put things in, it helps me to organize my stuff! I used the same method and pieced the ribbons to a neutral base and put a piece of binding on top of the pocket. To hide the raw edges of the pocket, I just ran a length of ribbon along the sides of the pocket and up to the top. The fabric I used for the back of the purse was also stabilized with some fusible knit and the lengths of ribbon on either side of the pocket were zig zagged into place using invisible thread.

I decided to make a pocket for the lining of my purse...I know the fabric looks off grain but I promise it was cut straight! Following the rest of the instructions for the pattern, I sewed the purse together.

For a final touch I even put a piece of ribbon at the top of the strap.....
This purse was so much fun and it gave me more ideas for projects involving ribbon!
Talk to you later,